After 3 months or so of using this product, I have grown to like it. First of all, I have oily, combination, acne prone skin. When I first started using the BB Cream my face looked like I had put on some vaseline and if you touched it, your hand would literally slide off my face. I was ready to dump this in the trash but I figure I'd save it for those days when my skin tends to get a bit dry. And so I did.
Currently, my face has been a bit on the dry, combo side. I think it's because of my acne cleanser and treatment that I'm using and it's drying out my skin. So out comes the BB Cream and voila, my face feels and looks great!
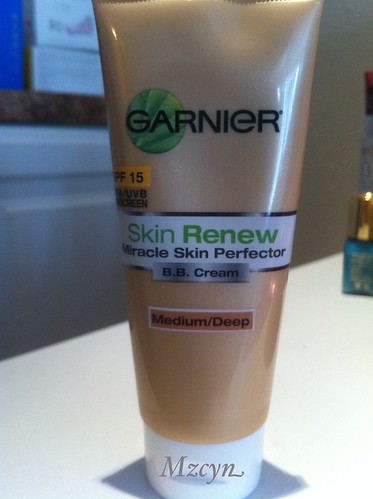
A BB cream is in between of a tinted moisturizer and foundation that is suppose to soften, smooth, and refine the skin, giving you a "natural" look. I have acne scars, redness, and some discoloration so I always wear foundation or powder. However, ever since my skin has been a bit dry, I've been using the BB cream and although it doesn't cover up my imperfections like regular foundation, it gives me minimal coverage and my skin is just glowing. I get a lot of compliments on my skin even with pimples! "Oh, have you been tanning" "Your face is glowing like J.Lo" "What foundation are you wearing?" "Are you pregnant?" (not sure if the pregnant is suppose to be bc my skin is glowing or bc I'm fat!) And the list goes on.
Here is how I apply the Garnier B.B. Cream:
Step 1: Wash my face with current cleanser
Step 2: Pat dry my face with whatever towel my hand can reach at the moment
Step 3: Let my face air dry a bit
Step 4: Apply a face primer (this is a must for my t-zone where I tend to get oily throughout the day, so if you have oily or combo skin or both, you must apply a face primer before applying the BB Cream)
Step 5: Apply BB Cream with fingers as you would a regular moisturizer. Make sure you kind of pat your face so the product sinks into the skin.
Step 6: Apply concealer where needed (under eye and blemishes)
Step 7: Apply powder all over face (I use my Milani or MAC face powder)
Step 8: Apply bronzer and blush.
Step 9: Lightly pat face with Makeup Forever MicroFinish powder (or any other translucent powder)
Step 10: Put on your clothes and head out the door before 8am.
I know it seems like a lot of steps but you can definitely skip steps such as 1-3 and 10.
Price: Not sure. I think it ranges from $10-12. I got mine for $2 with coupons :)
Would I recommend this product? Yes. To those with dry, combo skin. But for those with oily skin, I suggest using a primer at all times and patting it with a powder. Remember to use a sponge or a powder puff and not a brush when applying your powder. You want to achieve a matte look so lightly patting the face with powder will do the trick.
Overall rating: **** (4.2) because of the color selection. There are only two choices... Light/Medium and Medium/ Deep. Some people say it doesn't match their skin tone and bla bla but the Medium/Deep works great for my skin. It is a little light but with powder on top you can't tell.
Hope this review was helpful. Any suggestions or questions, feel free to leave them down below.
TOOTLES!
2 comments:
i did a review as well i lovvvve itt!!!
Lmao at the are you pregnant question! I've been wanting to try this but right now my skin is super oily! Maybe I'll try it out in the winter. Great review and thanks for listing how u applied and prepped your skin :)
Post a Comment